

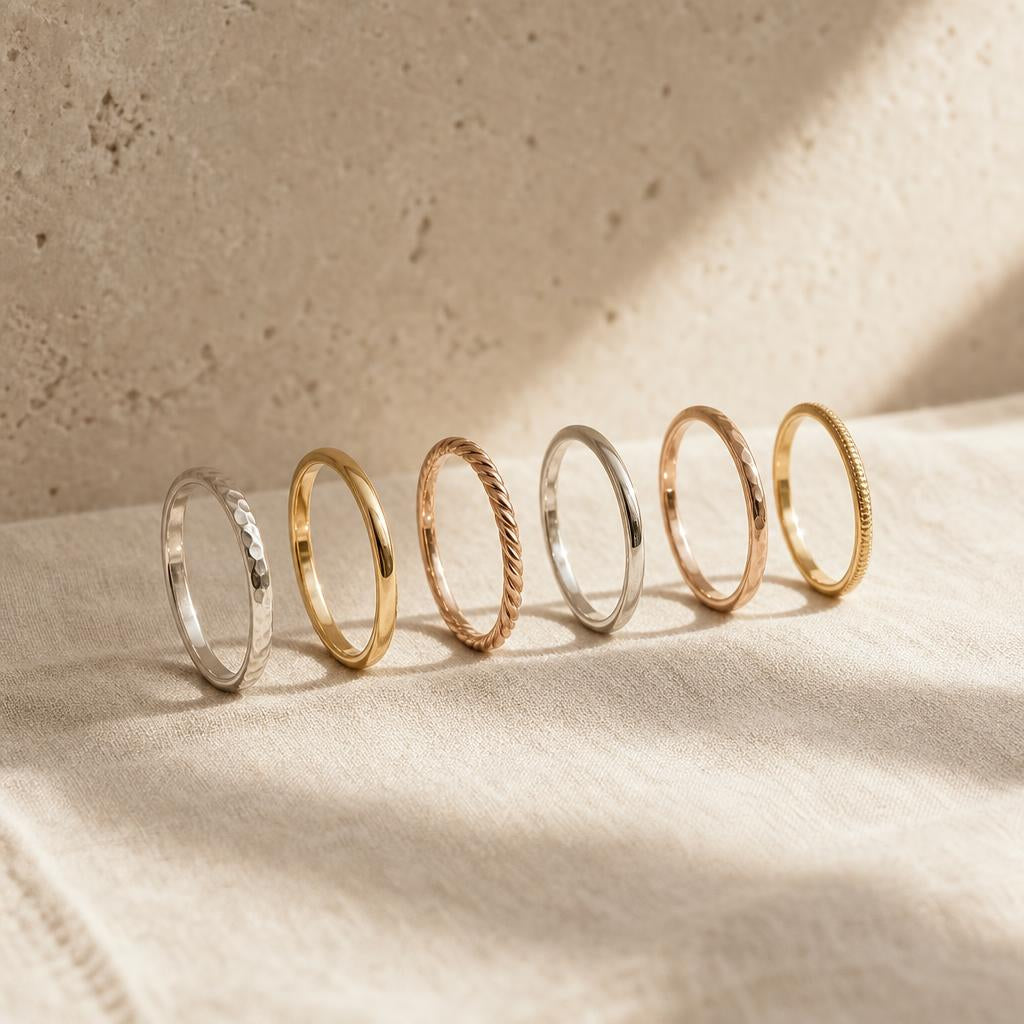
Stackable Rings for Women: How to Build Your Stack in Stages
The women whose ring stacks actually look considered didn't buy them in one afternoon. They built them — one deliberate piece at a time, over months or sometimes years, each new ring earning its place because it does something the others don't already do.
That's the real difference between a stack that reads as intentional and one that reads as a jewelry box emptied onto a single finger. It isn't the budget. It's the order you buy in — and it's why the best stackable rings for women rarely came from a single order.


Why Building in Stages Actually Works Better
Buying an entire stack at once looks tempting — one checkout, one box, done. But rings bought together tend to be sized, cut, and finished by the same logic, which means they end up echoing each other instead of complementing each other. A stack that's actually interesting almost always has some history to it: a ring you bought when you decided you didn't need a reason, a second one that changed the shape of the first, a third that finished the thought.
Buying in stages also means you get to live with a ring before deciding what it needs next to it. A band that looked perfect alone on day one might reveal, three months in, that it wants something thinner beside it — or something in a different metal entirely. You can't know that on day one. You can only know it by wearing the first ring long enough to actually notice.
Stage One: Choose Your Anchor First
Every considered stack starts with one ring that can hold its own — a piece you'd be just as happy wearing alone as stacked. This is not the moment to reach for something delicate and forgettable. Your anchor should have enough presence that everything you add later is genuinely in conversation with it, not just filling space around it.
Sterling silver stackable rings make a smart starting point precisely because they're neutral without being boring. A round-cut pavé band like The Everlasting Ring or The Destiny Ring reads as polished and finished on its own, which means your first purchase never feels incomplete while you decide what comes next. There's no pressure to buy three rings on day one just to make the first one look "done."
Stage Two: Add Contrast, Not a Copy
The most common mistake in stage two is buying a ring that's nearly identical to the anchor — same width, same finish, same sparkle. It disappears next to the first ring instead of adding to it. What actually works is contrast: a different setting, a different texture, a different rhythm of stones along the band.

The Devotion Ring
A channel-set baguette band beside a round pavé anchor gives your stack a second rhythm — sharp, linear lines next to soft, round sparkle — without competing for attention.
Shop The Devotion Ring →If your anchor is a rounded, continuous sparkle, look for a band with more structure — a channel setting, a bezel, or a slightly wider profile. The goal isn't to match; it's to give your hand two distinct things to look at that still belong together.
Stage Three: Bring In a Different Metal, On Purpose
This is the stage most women skip out of caution, and it's the one that actually makes a stack look built rather than bought. A third ring in a warmer or cooler metal than your first two — gold against silver, rose gold against platinum-toned silver — reads as a deliberate choice once your eye already trusts the first two pieces. Try it too early, before the stack has a foundation, and it can look accidental instead.

The Petal Ring — Rose Gold
Marquise-cut stones set along a rose gold eternity band. Rose gold stacking rings warm up a silver-heavy stack instantly, without needing to replace anything you already own.
Shop The Petal Ring — Rose Gold →✦ Pro tip: If you're mixing metals for the first time, keep the width consistent across all three rings before you start varying it. One new variable at a time — metal color first, width second — is easier to judge in the mirror than changing everything at once.
It helps to think of the three stages as three distinct jobs, rather than three purchases that all need to look similar:
| Stage | Its Job | What to Look For |
|---|---|---|
| Stage One — Anchor | Stands alone; sets the tone | Confident pavé or bezel, mid-width, sterling silver |
| Stage Two — Contrast | Adds a second rhythm | Different setting or texture — channel, baguette, twisted |
| Stage Three — Metal Layer | Signals the stack is finished, not accidental | A warmer or cooler metal than the first two pieces |
How to Know When to Stop Adding
A stack has a natural ceiling, and it's worth knowing before you hit it. Once you can no longer see daylight between the bands, or your knuckle has to work harder to bend, you've moved past "curated" into "cluttered" — no matter how good each individual ring is. Three to five rings is the range most women land in comfortably, though the honest answer is that your hand will tell you before any rule does.
It's also worth deciding early whether you're building a single-finger stack or spreading rings across two fingers. Both read as intentional. What doesn't is a stack that grew by accident because every ring landed on the same finger by default rather than by choice.
Building a Stack That Fits Your Actual Life
A stack should hold up to the life you actually live, not just the version of it in a photo. If you type all day, a stack with a wide, textured band sitting at the base of your finger will catch on a keyboard in a way a slimmer profile won't. If you're at the gym most mornings, you'll notice quickly which pieces sit flush enough to survive a set of dumbbells and which ones twist and dig in. None of this means giving up on a bigger, more dramatic anchor — it just means being honest about where in the stack it belongs.
Sizing deserves the same honesty. Three or four bands worn together sit tighter than any one of them does alone, so a size that felt perfect for a single ring can feel snug once you've built a full stack around it. It's worth trying your pieces on together, not just individually, before deciding the collection is finished — a stack that pinches gets left in a drawer, no matter how good it looks in the mirror.
More Ring Stacking Ideas Worth Trying
Once your first three pieces feel settled, there's room to get more specific about the story your stack tells. A few directions worth considering as you keep building:
- Vary the width deliberately. A thick anchor with two whisper-thin bands beside it reads as more sophisticated than three rings of matching width.
- Let one ring be the quiet one. A plain polished band gives the eye somewhere to rest between two sparklier pieces — the same principle stylists use when they talk about mismatched stacked wedding bands: nothing has to match exactly for it to look like it belongs together.
- Buy for the season you're in. A stack you build at 26 will look different from the one you build at 34, and that's not a problem to solve — it's just what happens when jewelry actually gets worn instead of saved for later.
If you're searching for wedding ring stack ideas because you're building around an existing band, the same staged approach applies — just start with the ring you already wear daily as your anchor instead of buying one first.
Should You Just Buy a Stackable Rings Set?
Sets have their place. A pre-matched set of stacking rings is a reasonable way to get a finished look fast, and there's nothing wrong with choosing convenience on a week when convenience is what you need. But a set makes every future decision for you at once — width, metal, spacing — which is exactly the decision-making a staged stack lets you keep for yourself. If you go the set route, treat it as your stage one and two combined, then add a stage three piece later in a different metal to keep the collection from feeling closed.
Quick Takeaways
- Start with one anchor ring strong enough to wear alone.
- Add contrast in stage two — different setting or texture, not a copy.
- Introduce a new metal color in stage three, once the foundation is established.
- Three to five rings is the comfortable ceiling for most hands.
- A pre-bought set can work as a fast-tracked stage one and two.
Frequently Asked Questions
What order should I stack my rings in?
Start closest to your knuckle with your simplest, most secure-fitting band, and build outward toward your fingertip with more detailed pieces. It keeps the rings that catch on things least exposed to daily wear.
Is there a right number of rings to wear at once?
There's no fixed rule, but three rings on one finger tends to be the sweet spot — enough to look intentional without crowding your knuckle. Some women prefer spreading a fourth or fifth ring across a neighboring finger instead of stacking every piece in one place.
How long should I wait before adding a new ring to my stack?
Give each ring at least a few weeks of actual daily wear before deciding what it needs next to it. You genuinely can't judge fit, comfort, or style from a photo or a try-on in the same way you can after living with a piece.
Do stacking rings need to be the same width to look right?
No — in fact, varying the width is usually what makes a stack look deliberate rather than mass-produced. A common approach is one wider anchor ring paired with one or two thinner bands.
What's an easy way to start stacking rings for the first time?
Pair one round pavé band with one plain polished band before adding anything more complicated. That two-ring combination alone reads as finished, and it gives you a stable base to build a third piece around later.
Do I need to clean a ring stack differently than a single ring?
Rings worn together trap more lotion, soap residue, and everyday grime between the bands, so a stack benefits from a quick rinse and a soft polish more often than a single ring would. Take pieces off before swimming or heavy cleaning either way.
None of this has to happen on any particular timeline. The stack that looks the most like you is rarely the one bought in a single order — it's the one that grew alongside your actual life, one ring you were genuinely ready for at a time.


