

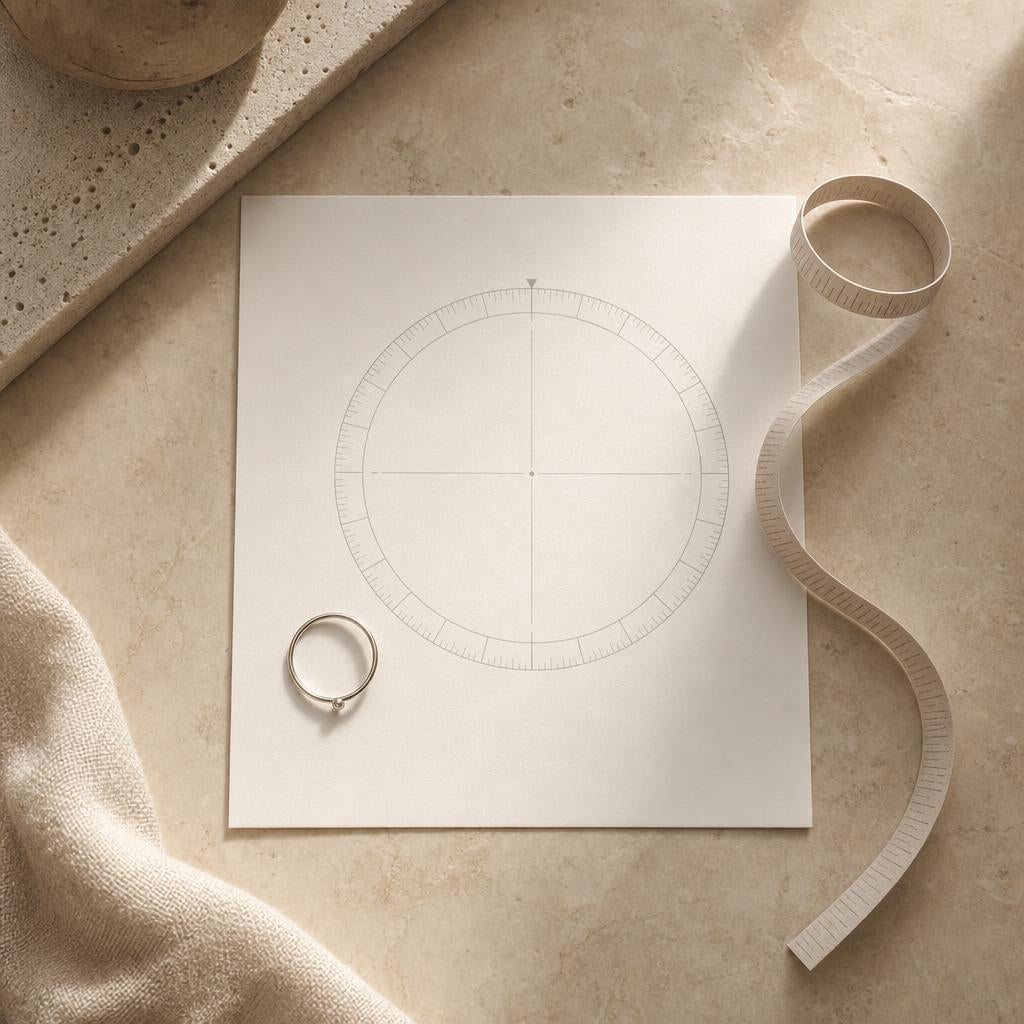
The Five-Minute Ring Sizing Test You Can Do With a Printer and Nothing Else
You don't need a jeweler, a plastic ring sizer, or a trip to the mall to find out your ring size. If you have a printer, a piece of paper, and about five minutes, you can get a genuinely accurate measurement from your own kitchen table — tonight, before you second-guess yourself into ordering the wrong size online.
This is the exact method we point customers to when they message us mid-checkout, unsure whether they're a 6 or a 7. It works because it removes the guesswork of "eyeballing" a ring against a chart — instead, you're measuring your actual finger, precisely, on paper you calibrate yourself.


Why "just guessing" usually goes wrong
Most people who guess their ring size land within a half size of the truth — which sounds close, until you remember a half size is roughly the difference between a ring that spins loosely around your finger and one that won't clear your knuckle at all. Online rulers and screen-measured charts make this worse, not better: unless the image is printed at true scale, every measurement taken from it is off by whatever percentage your screen or printer defaults to.
That's the actual problem this test solves. It isn't about finding a better chart — it's about making sure the chart you're using is printed at exactly 100% scale before you trust a single number on it.
What you'll need
- A printer (inkjet or laser, either works)
- One sheet of plain paper
- A ring you already own that fits the finger you're sizing for — or a strip of paper and a pen if you don't have one
- A ruler or the printed calibration square (included in the method below)
Worth knowing: Printer settings are the single most common reason people get an inaccurate result. Any "fit to page," "shrink to fit," or "scale to printable area" option will resize your printout without telling you — always print at 100% or "actual size."
The five-minute method
Step 1 — Print and calibrate
Search "printable ring sizer" or use any printable sizing guide, and print it with your printer's scaling set to 100%. Before you measure anything, check the calibration square that's included on most printable sizing charts against a ruler. If the square measures exactly one inch (or whatever dimension is marked), your printer scaled the page correctly and you can trust the circles on the page. If it's even slightly off, reprint with scaling manually set to "none" or "actual size" — don't proceed until the square checks out.
Step 2 — Measure the ring you already own
If you have a ring that already fits the finger you're sizing for, lay it directly on top of the printed circles until you find the one whose inner edge matches the inner edge of your ring exactly. Not the outer edge of the band — the inner circle, where your finger actually sits. This single step is usually the most accurate part of the entire test, because you're comparing a real object to a calibrated printout rather than estimating anything.
Step 3 — No ring on hand? Use the strip method
Cut a thin strip of paper, about half a centimeter wide, and wrap it snugly around the base of your finger — snug enough that it doesn't slide off, loose enough that it doesn't dent your skin. Mark where the end overlaps, lay the strip flat, and measure the length in millimeters. That number is your finger's circumference, which you can then match against the same printable chart's circumference column (usually listed alongside the diameter circles).
✦ Pro tip: Measure at the end of the day, when your hands run slightly larger, and measure two or three times to make sure you're getting a consistent number. If two attempts disagree by more than a quarter size, take a short break and try again — cold hands and tight muscles can throw the result off temporarily.
Step 4 — Cross-check against a size chart
Once you have either a matched circle diameter or a circumference measurement, cross-reference it against a standard US sizing chart to confirm your number. If your measurement lands exactly between two sizes, size up rather than down — a ring that's a touch loose is a quick, inexpensive fix with a sizing adjuster, while a ring that's too tight can be uncomfortable to wear at all.
Why this beats string, apps, and mall sizers
String and floss measurements work in a pinch, but paper or thread stretches slightly under tension, which quietly inflates your circumference reading. Ring sizing apps rely on your phone's camera and a reference object (usually a credit card) held at the correct distance and angle — small errors in either compound fast. A printed, calibrated chart removes both of those variability sources: paper doesn't stretch, and a ruler-checked calibration square guarantees the scale is correct before you take a single measurement.
The one thing a printed test can't fully replace is a professional sizing at a jeweler — if you're between sizes on a ring you plan to wear daily for years, like an engagement ring, it's worth double-checking in person if you have that option. But for travel rings, gifts, and rings you're ordering online without easy access to a jeweler, the printer method gets you close enough to order with real confidence.

The Majesté Ring
An elongated cushion-cut center with a hidden halo beneath — a style where getting the size right matters even more, since the wider silhouette sits close to the knuckle.
Shop The Majesté Ring →Does the ring style change how you should size?
Mostly no — but there are a few situations worth knowing about before you order. Wider bands (think 6mm and up) tend to fit more snugly than thin bands in the same labeled size, simply because more metal is in contact with your finger. If you're eyeing something substantial, it's common to size up a half size from what a thin band test would suggest. Rings with a lot of detail near the base of the stone — like a pronounced hidden halo or a raised setting — can also sit slightly differently than a plain solitaire, so if you're between sizes, lean toward the larger option for extra comfort clearing the knuckle.

The Regent Ring
A 1.25 carat princess-cut center framed by a pavé halo with milgrain edging — a slimmer profile that sizes closer to a standard thin-band measurement.
Shop The Regent Ring →What to do if your two measurements disagree
It happens more often than you'd think — the ring-on-paper method says one size, the strip method says another. When that happens, trust the ring-on-paper result first, since it's measuring a real object rather than your finger's soft tissue, which compresses slightly under a paper strip. If you don't have a ring to test with and only the strip method is available, take the measurement three times and use the middle result, then size up if you're between two options rather than down.
Quick Takeaways
- Always print your sizing chart at 100% scale — check the calibration square against a ruler before measuring anything
- Match the inner edge of a ring you already own to the printed circles for the most accurate result
- No ring on hand? Use a snug paper strip around your finger and match the circumference to the chart
- Between two sizes? Size up — it's easier to adjust a slightly loose ring than a tight one
- Wider bands and detailed settings (like hidden halos) often size a half size snugger than thin, plain bands
Frequently asked questions
Can I trust a sizing chart I find on my phone without printing it?
No — screen measurements are unreliable because every phone and monitor renders pixels at a different physical size. The whole point of this method is printing the chart on paper and checking it against a ruler, which removes screen scaling from the equation entirely.
What if my printer doesn't have a "100% scale" or "actual size" option?
Look for "no scaling," "fit to page: off," or a percentage field you can manually set to 100. If none of those exist, print the calibration square first, measure it with a ruler, and calculate the correction factor — for example, if a 1-inch square prints at 0.9 inches, divide your final measurement by 0.9 to correct for it.
Is this method accurate enough for an engagement ring?
It's accurate enough to order with confidence, especially if you cross-check with both the ring-on-paper and strip methods. For a ring you plan to wear every day for years, it's still worth a quick in-person confirmation at a jeweler if that option is available to you — but for most buyers, this test gets the size right.
Does the time of day actually affect my ring size?
Yes, slightly. Fingers are typically smaller in the morning and swell a little over the course of the day, especially in heat or after exercise. Measuring in the evening, after a normal day, tends to give the more reliable everyday-wear number.
Five minutes, one sheet of paper, and a printer set to the right scale is genuinely all it takes to walk into your next ring purchase — engagement ring, travel ring, or gift — knowing your size instead of hoping you guessed right. It's a small step that saves you the far more annoying process of exchanging a ring after the fact.


