

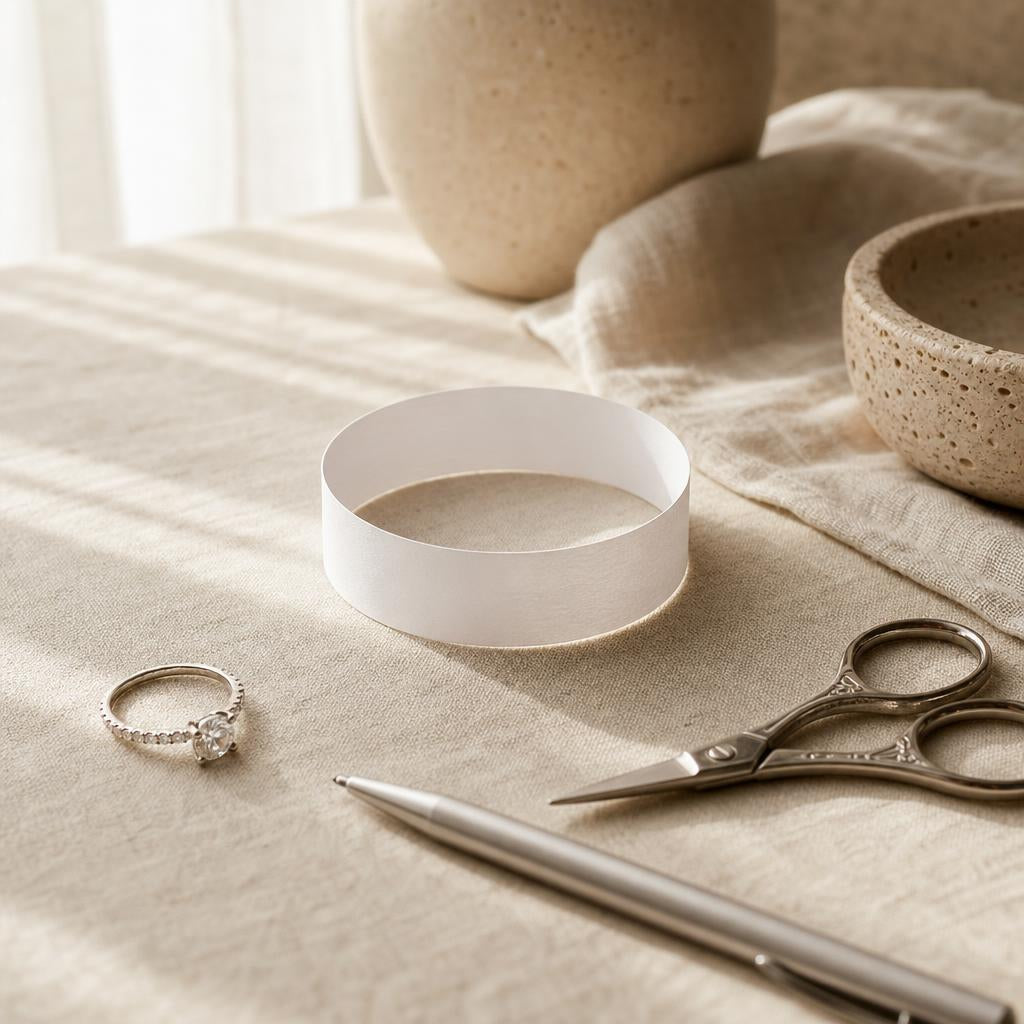
Printable Ring Sizing Guide: How to Measure Your Ring Size at Home
You've found the ring. You know exactly which one, down to the setting and the metal tone — and you're about to order it at eleven at night in your pajamas, which is precisely how ring shopping should feel. The only thing standing between you and checkout is a number you've never had a reason to know until now: your ring size.
The good news is you don't need a jeweler, a store visit, or a special tool to get it right. A strip of paper, a pen, and five spare minutes will get you an accurate size — and if you'd rather skip the math, a printable sizer does the work for you. Here's exactly how, plus a few rings worth having ready to go the moment you know your number.


Why a Piece of Paper Beats Guessing
Most sizing mistakes don't come from bad measuring — they come from no measuring at all. It's tempting to eyeball it against a ring you already own, or to just pick "7" because that's what a friend wears. But finger size varies more than people expect, not just person to person but knuckle to knuckle on your own hand, and a ring that's off by even half a size will either spin around your finger all day or leave a red ring behind by dinnertime.
A proper at-home measurement takes the guesswork out entirely. It won't be laboratory-precise, but it will get you within a size — often exactly on the money — which is more than enough for a comfortable, confident fit.
What You'll Need
Both methods below use things you almost certainly already have in a kitchen drawer:
- A strip of paper about half an inch wide and four inches long (or a printable sizer — more on that below)
- A pen or fine-tip marker
- A ruler with millimeter markings
- A pair of scissors
Worth knowing: Measure at the end of the day, when your fingers are at their most swollen from normal daily movement and warmth. Measuring first thing in the morning tends to give a slightly smaller reading than what you'll actually need.
Method 1 — The Paper Strip Wrap
This is the fastest option and the one most people default to, because it needs nothing but paper and a pen.
- Cut a strip of paper roughly half an inch wide and four inches long.
- Wrap it snugly around the base of the finger you'll wear the ring on — snug enough that it doesn't slide off, but not so tight it pinches.
- Mark the spot where the paper overlaps itself with your pen, right where the two ends meet.
- Unwrap the strip and lay it flat. Measure the distance from the starting edge to your pen mark in millimeters. That number is your finger's circumference.
- Match that circumference to the conversion table below to find your US ring size.
✦ Pro tip: Do this measurement three times and take the middle result. A single reading can be thrown off by how tightly you happened to wrap the paper that one time.
Method 2 — The Printable Ring Sizer
If you'd rather not do the math, a printable ring sizer does the conversion for you. It's a strip with pre-marked size lines that you print, cut out, and wrap around your finger the same way as the paper strip — except instead of measuring millimeters, you just read off which line lines up with the slot.
Worth knowing: Printer scaling ruins more at-home sizing attempts than anything else. When the print dialog opens, make sure "Fit to page" or "Scale to fit" is turned off, and print at 100% / actual size. A sizer printed even 5% too small or too large will give you the wrong size with total confidence, which is worse than not measuring at all.
Once it's printed correctly, cut along the outer edge, thread the pointed end through the slot, and pull it snug around your finger — same comfort test as the paper strip: snug, not tight. Whichever size line lines up with the slot is your size.
Reading Your Measurement: Millimeters to US Size
If you measured circumference in millimeters using the paper strip method, here's how that translates to a standard US ring size.
| Circumference (mm) | US Size | Diameter (mm) |
|---|---|---|
| 44.2 | 3 | 14.1 |
| 46.8 | 4 | 14.9 |
| 49.3 | 5 | 15.7 |
| 51.9 | 6 | 16.5 |
| 54.4 | 7 | 17.3 |
| 57.0 | 8 | 18.1 |
| 59.5 | 9 | 19.0 |
| 62.1 | 10 | 19.8 |
If your measurement lands between two rows, round to the nearest whole size, or size up if the ring will sit over a knuckle you need to clear. A setting with a smooth, continuous edge is also more forgiving to size precisely, since there's no prong or raised detail to catch a measurement on.

The Cherish Ring
A rubbed-edge bezel setting with no prongs to snag a measuring strip or catch on a glove — one of the more forgiving styles to size precisely at home.
Shop The Cherish Ring →Common Measuring Mistakes That Throw Off Your Size
A handful of small errors account for almost every "why doesn't this fit" email a jewelry brand gets. Watch for these:
- Wrapping too tightly. If you have to fight the paper to get it snug, you'll measure a size smaller than you actually are.
- Measuring cold hands. Cold fingers shrink slightly. Warm up your hands under running water for a minute before measuring if it's chilly.
- Measuring over a knuckle instead of the base. You want the measurement at the base of the finger, where the ring will actually sit day to day — not stretched over a wider knuckle to get it past.
- Only measuring once. A single reading can be off by half a size in either direction. Three readings and a middle result is far more reliable.
- Ignoring a knuckle that's noticeably wider than the base. If your knuckle is significantly bigger than the base of your finger, you'll want to size for comfortable passage over the knuckle, then look at a slightly domed or comfort-fit band so it doesn't feel loose at the base.
When to Size Up (and When Not To)
Finger size isn't fixed — it shifts a little with temperature, time of day, salt intake, and exercise. If you're measuring under unusual circumstances, account for it:
- Hot weather or exercise: Fingers swell. Measure at a "normal" moment rather than right after a workout or on a 95-degree afternoon.
- Air travel: Cabin pressure can cause mild swelling on long flights. Not a factor for everyday measuring, just worth knowing if a ring feels different after a trip.
- End of a long day: This is actually the best time to measure, not a time to avoid — it gives you a size that will stay comfortable even at your hand's most swollen point in a normal day.
For a ring you'll be adding to an existing stack rather than wearing alone, sizing logic shifts slightly — you're not just sizing for your finger, you're sizing for how multiple bands will sit together.

The Amore Ring
An oval eternity band designed to sit flush against a solitaire — worth ordering true to your measured size rather than sizing up, since stacking pieces are more forgiving of a snug fit than a single ring worn alone.
Shop The Amore Ring →What If You're Between Sizes?
If your measurement lands squarely between two whole sizes, a few options work better than just picking one and hoping:
- Size up, not down. A slightly loose ring can be adjusted with an inexpensive guard or spacer. A ring that's genuinely too tight is uncomfortable from the first minute and much harder to fix without professional resizing.
- Consider the setting. A wider band will always fit snugger than a narrow one at the same stated size, because more surface area touches the finger. If you're between sizes and eyeing a wider band, size up.
- Re-measure a second time on a different day. If your two measurements genuinely disagree, that's useful information — it likely means your finger size fluctuates enough that you should size for the larger, more comfortable end of that range.
Quick Takeaways
- Wrap a paper strip snugly (not tight) around the base of your finger and mark the overlap to get your circumference in millimeters.
- Printable sizers work the same way — just be sure printer scaling is set to 100%, with "fit to page" turned off.
- Measure at the end of the day, three times, and take the middle reading for the most reliable result.
- When between sizes, size up rather than down — a loose ring is easy to fix, a tight one usually isn't.
- Bezel and smooth-edge settings are the most forgiving styles to measure and size precisely.
Frequently Asked Questions
Is a paper strip really accurate enough to order a ring online?
Yes, for the vast majority of buyers. It won't be as precise as a jeweler's metal sizing tool, but done carefully — snug wrap, three readings, middle result — it reliably lands within a size, which is well within the range most rings are comfortable to wear.
Can I use string or floss instead of paper?
You can, though paper tends to be easier to read accurately since it lies flat once unwrapped. If you use string, mark it with a pen the same way, then lay it flat against a ruler rather than trying to measure it while it's still curled.
Should I size for my dominant or non-dominant hand?
Measure the specific finger on the specific hand you actually plan to wear the ring on — dominant hands are sometimes very slightly larger from daily use, so a measurement from the wrong hand can be off.
What if my measurement doesn't match any standard size exactly?
Round to the nearest whole or half size available. If you're precisely between two sizes with no half-size option, size up for comfort and use a ring guard if it ends up sitting slightly loose.
Do ring sizes mean the same thing across different brands?
Mostly, but not always exactly. US sizing is fairly standardized, but band width and internal shaping can make two rings of the "same" size feel slightly different. When in doubt, measure fresh rather than relying on a size you wore for a different ring years ago.
Five minutes with a paper strip is really all it takes to stop guessing — and once you have your number, it applies to everything you order going forward, not just the one ring you're eyeing tonight. Measure once, write it down somewhere you'll actually find it again, and the rest of your ring shopping gets a whole lot easier.


